AKUSENSE Sensor Case Study | 1-Minute Instant Inspection!
2025.11.25

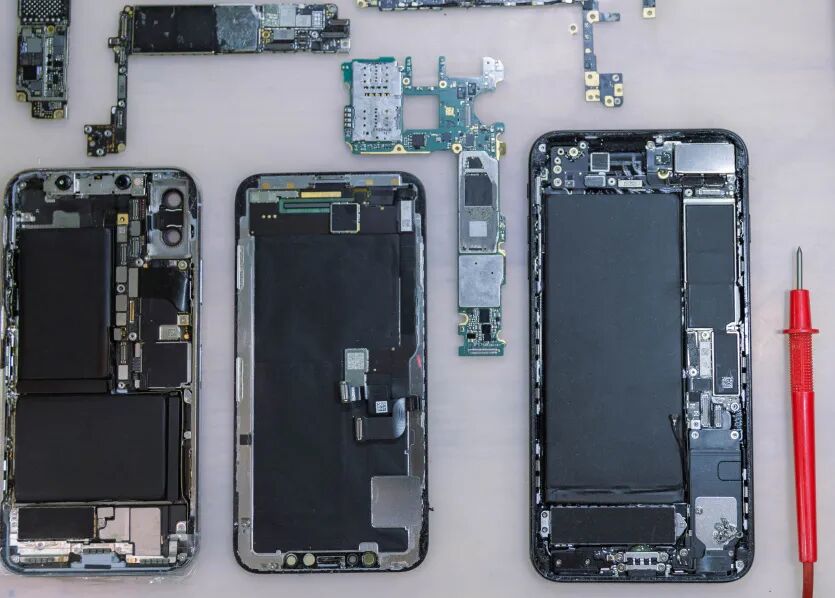
In the smartphone manufacturing industry, the precision of every tiny component directly affects the overall quality, feel, and reliability of the device. Among these, the flatness of internal structural components (such as the mid-frame and bracket) is a crucial "invisible" indicator. Like the foundation of a skyscraper, even minor unevenness can lead to assembly stress, abnormal noise, and even affect the uniformity of the screen display.

Today, AKUSENSE will share a highly representative case study to see how advanced industrial sensing technology overcomes the extreme challenge of flatness inspection for mobile phone components.
Scenario Requirements and Challenges
Inspection Objective: To measure the flatness of internal mobile phone components with a length of 120mm.
Inspection Method: Ten key points along the 120mm length are selected for height measurement, and the overall flatness is calculated using an algorithm.
Challenges:
Extremely High Precision Requirements: The precision must be consistently within "1 line" (industry terminology, "1 line" means 0.01mm, or 10 micrometers). This is roughly 1/7 the diameter of a human hair (approximately 70 micrometers)!
Extremely high speed is required: From positioning and measuring 10 points to data processing and outputting results, the entire cycle time (CT) must be controlled within 1 second to meet the pace of high-speed production lines.
Solution
Faced with the above challenges, traditional contact probes (slow and prone to wear) or ordinary laser displacement sensors (susceptible to material and color variations, with unreliable accuracy) cannot meet the requirements. After rigorous technical evaluation, we recommended the following solution to our client:
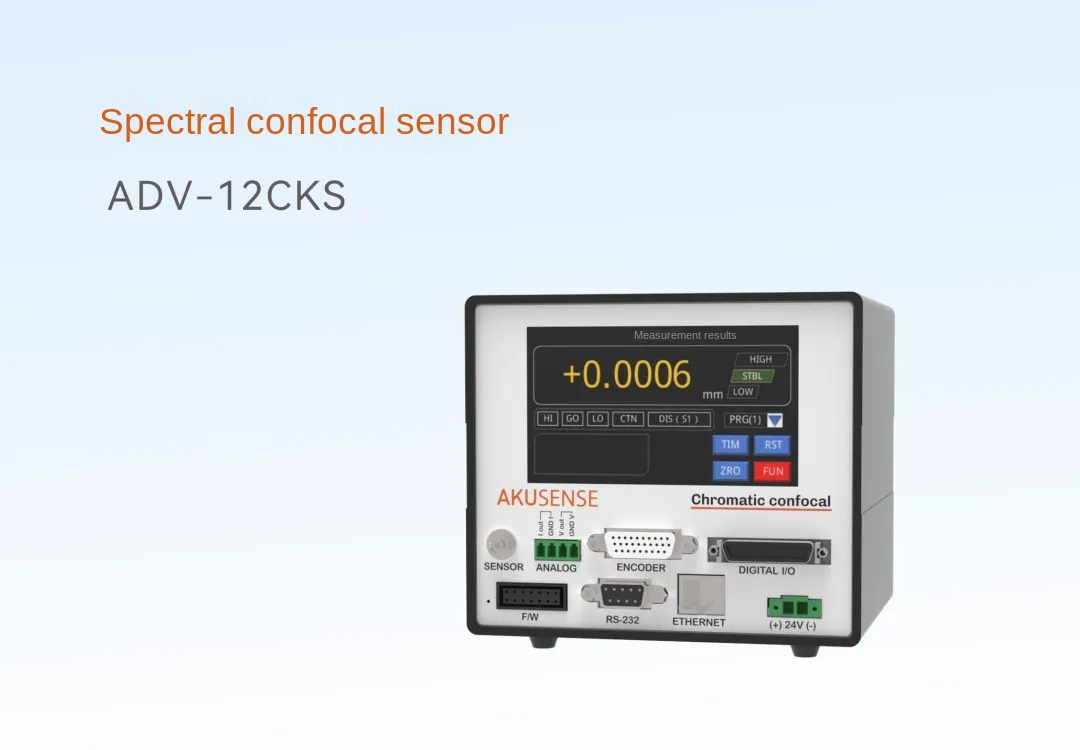
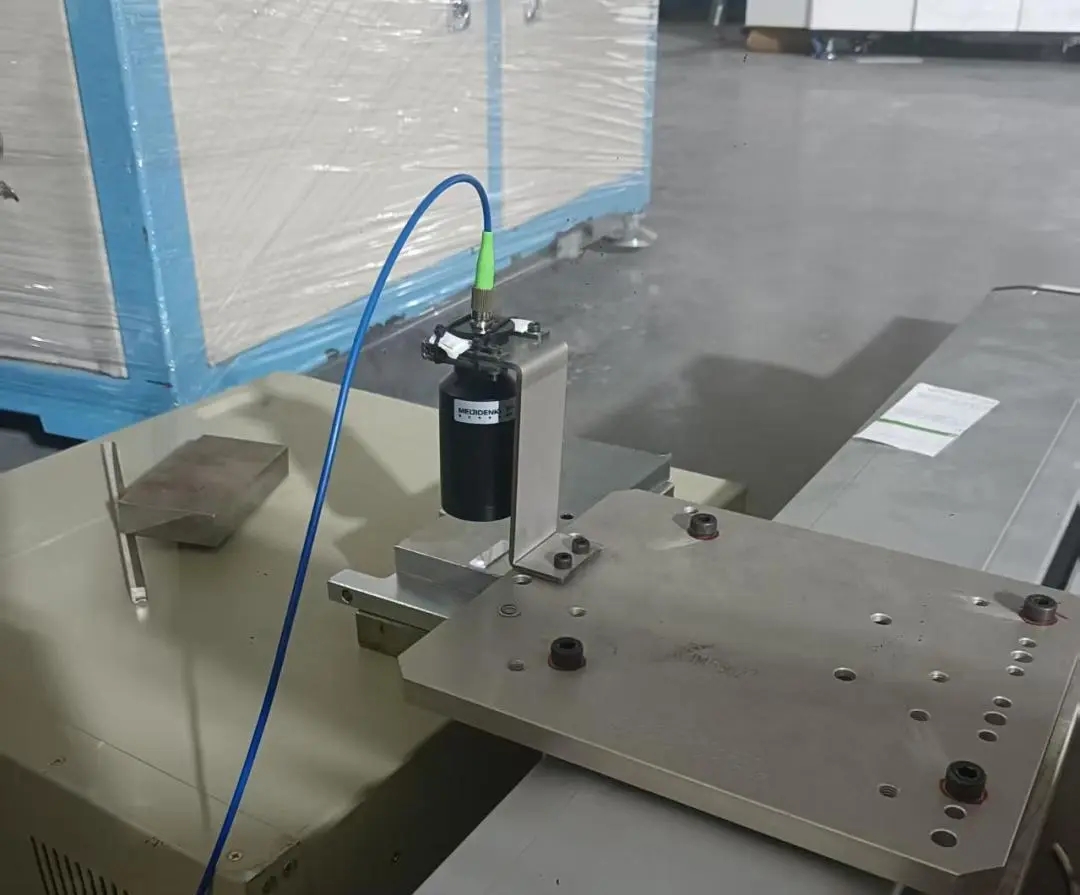
AKUSENSE Spectral Confocal Sensor ADV-12CKS + Probe ACC-30

A linear motor drives the sensor probe in a translational motion, achieving detection by collecting the height of corresponding coordinate points on the product surface.

1. Principle Advantage: Spectral confocal technology determines distance by analyzing the spectrum of reflected light, and is insensitive to changes in light intensity. This means that regardless of whether the object being measured is shiny, dark, metal, ceramic, or glass, it can obtain stable, reliable, and high-precision measurement results.
2. Performance Parameters: Spectral confocal sensors typically possess sub-micron or even nanometer-level repeatability. Their linearity is extremely high, fully meeting customer accuracy requirements within 1µm, and even leaving ample margin. This is difficult to achieve with ordinary laser triangulation methods.
3. Ultra-High Sampling Rate: Our optional controller supports a measurement speed of 30kHz (30,000 times per second). Even when moving along a 120mm length and collecting 10 points, the measurement of each point is almost instantaneous, greatly reducing pure measurement time.
4. Installation Height 30mm: On-site installation space often limits the distance between the sensor probe and the workpiece to approximately 30mm. The ACC-30 model is designed for this standard working distance of around 30mm. At this distance, it performs optimally.
If you also face similar inspection challenges, please feel free to contact us! We will provide you with customized solutions to help your production line upgrade towards intelligent manufacturing!
Related Products
+86 18188641602

